Christmas Angel
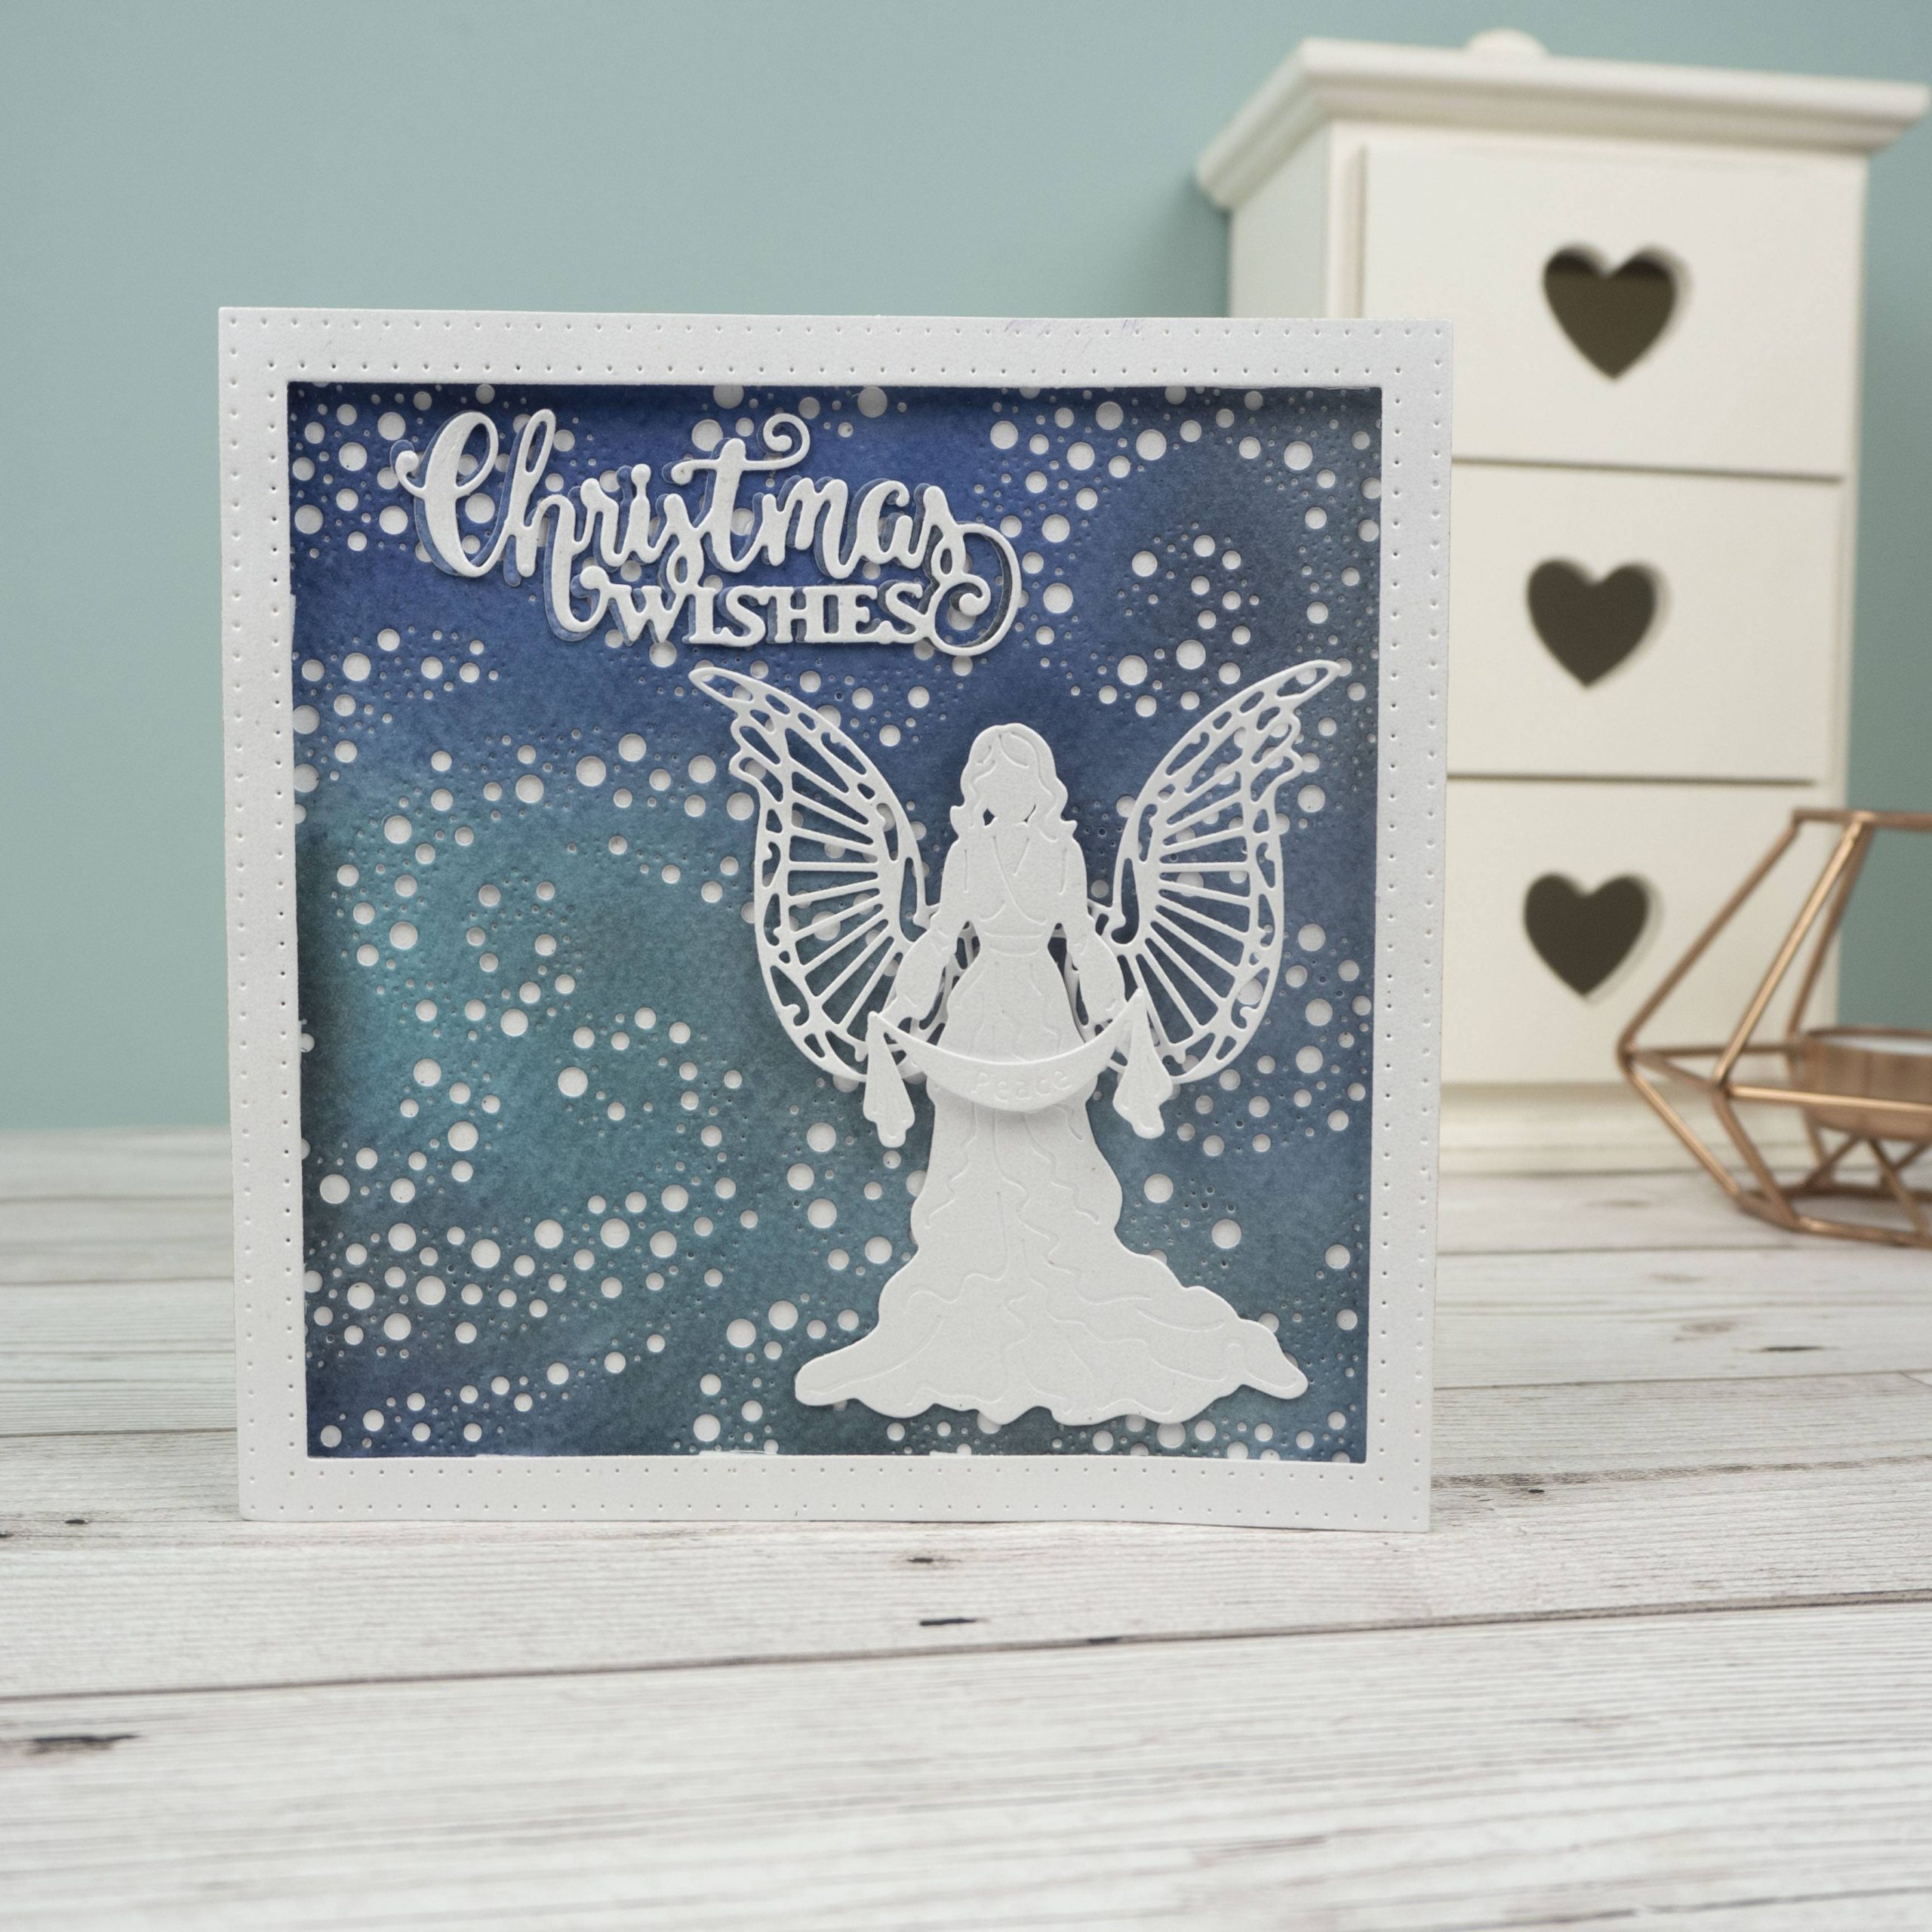
Follow our easy step by step guide to make this Heavenly Angel Christmas Card.
Christmas Angel
Follow our easy step by step guide to make this Heavenly Angel Christmas Card.
Experience Level: Easy
You will need:
- Foundation Card Coconut White A4 220gsm pk 25 40980
- Foundation Pearl Card A4 Icicle 230gsm pk 20 PC001
- Watercolour Card pk 20 sheets CEWATER
- Distress Pad Black Soot DPBLACKSOOT
- Distress Pad Broken China DPBRKCHINA
- Distress Pad Stormy Sky DPSTORMY
- Distress Pad Antique Linen DPANTLINEN
- Distress Pad Chipped Sapphire DPSAPPHIRE
- Woodware Mounting Foam Tape
- Cosmic Shimmer PVA Glue 30ml CSGLUE
- Festive Mini Expressions Christmas Wishes CEDME036
- Noble Double Pierced Squares – Set B CED5510
- Festive Collection Christmas Angel Die CED3169
- Festive Collection Stardust Background Die CED3190
- Woodware Blend-it Blending Tool WW2974
These handy tools will make your card creation process much simpler!
Step by Step Instructions
Step 1
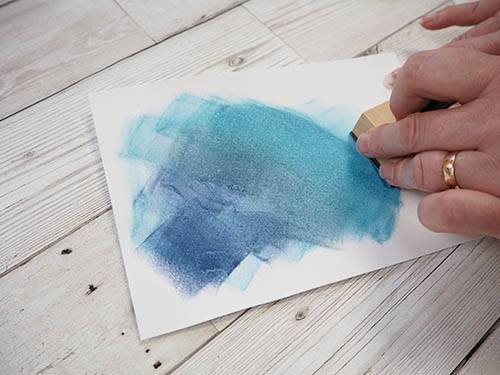
Cut bright white cards to 14.5 x 29cm score and fold at 14.5cm to make a card blank. Colour watercolour card by blending a mixture of distress inks across the surface.
Step 2
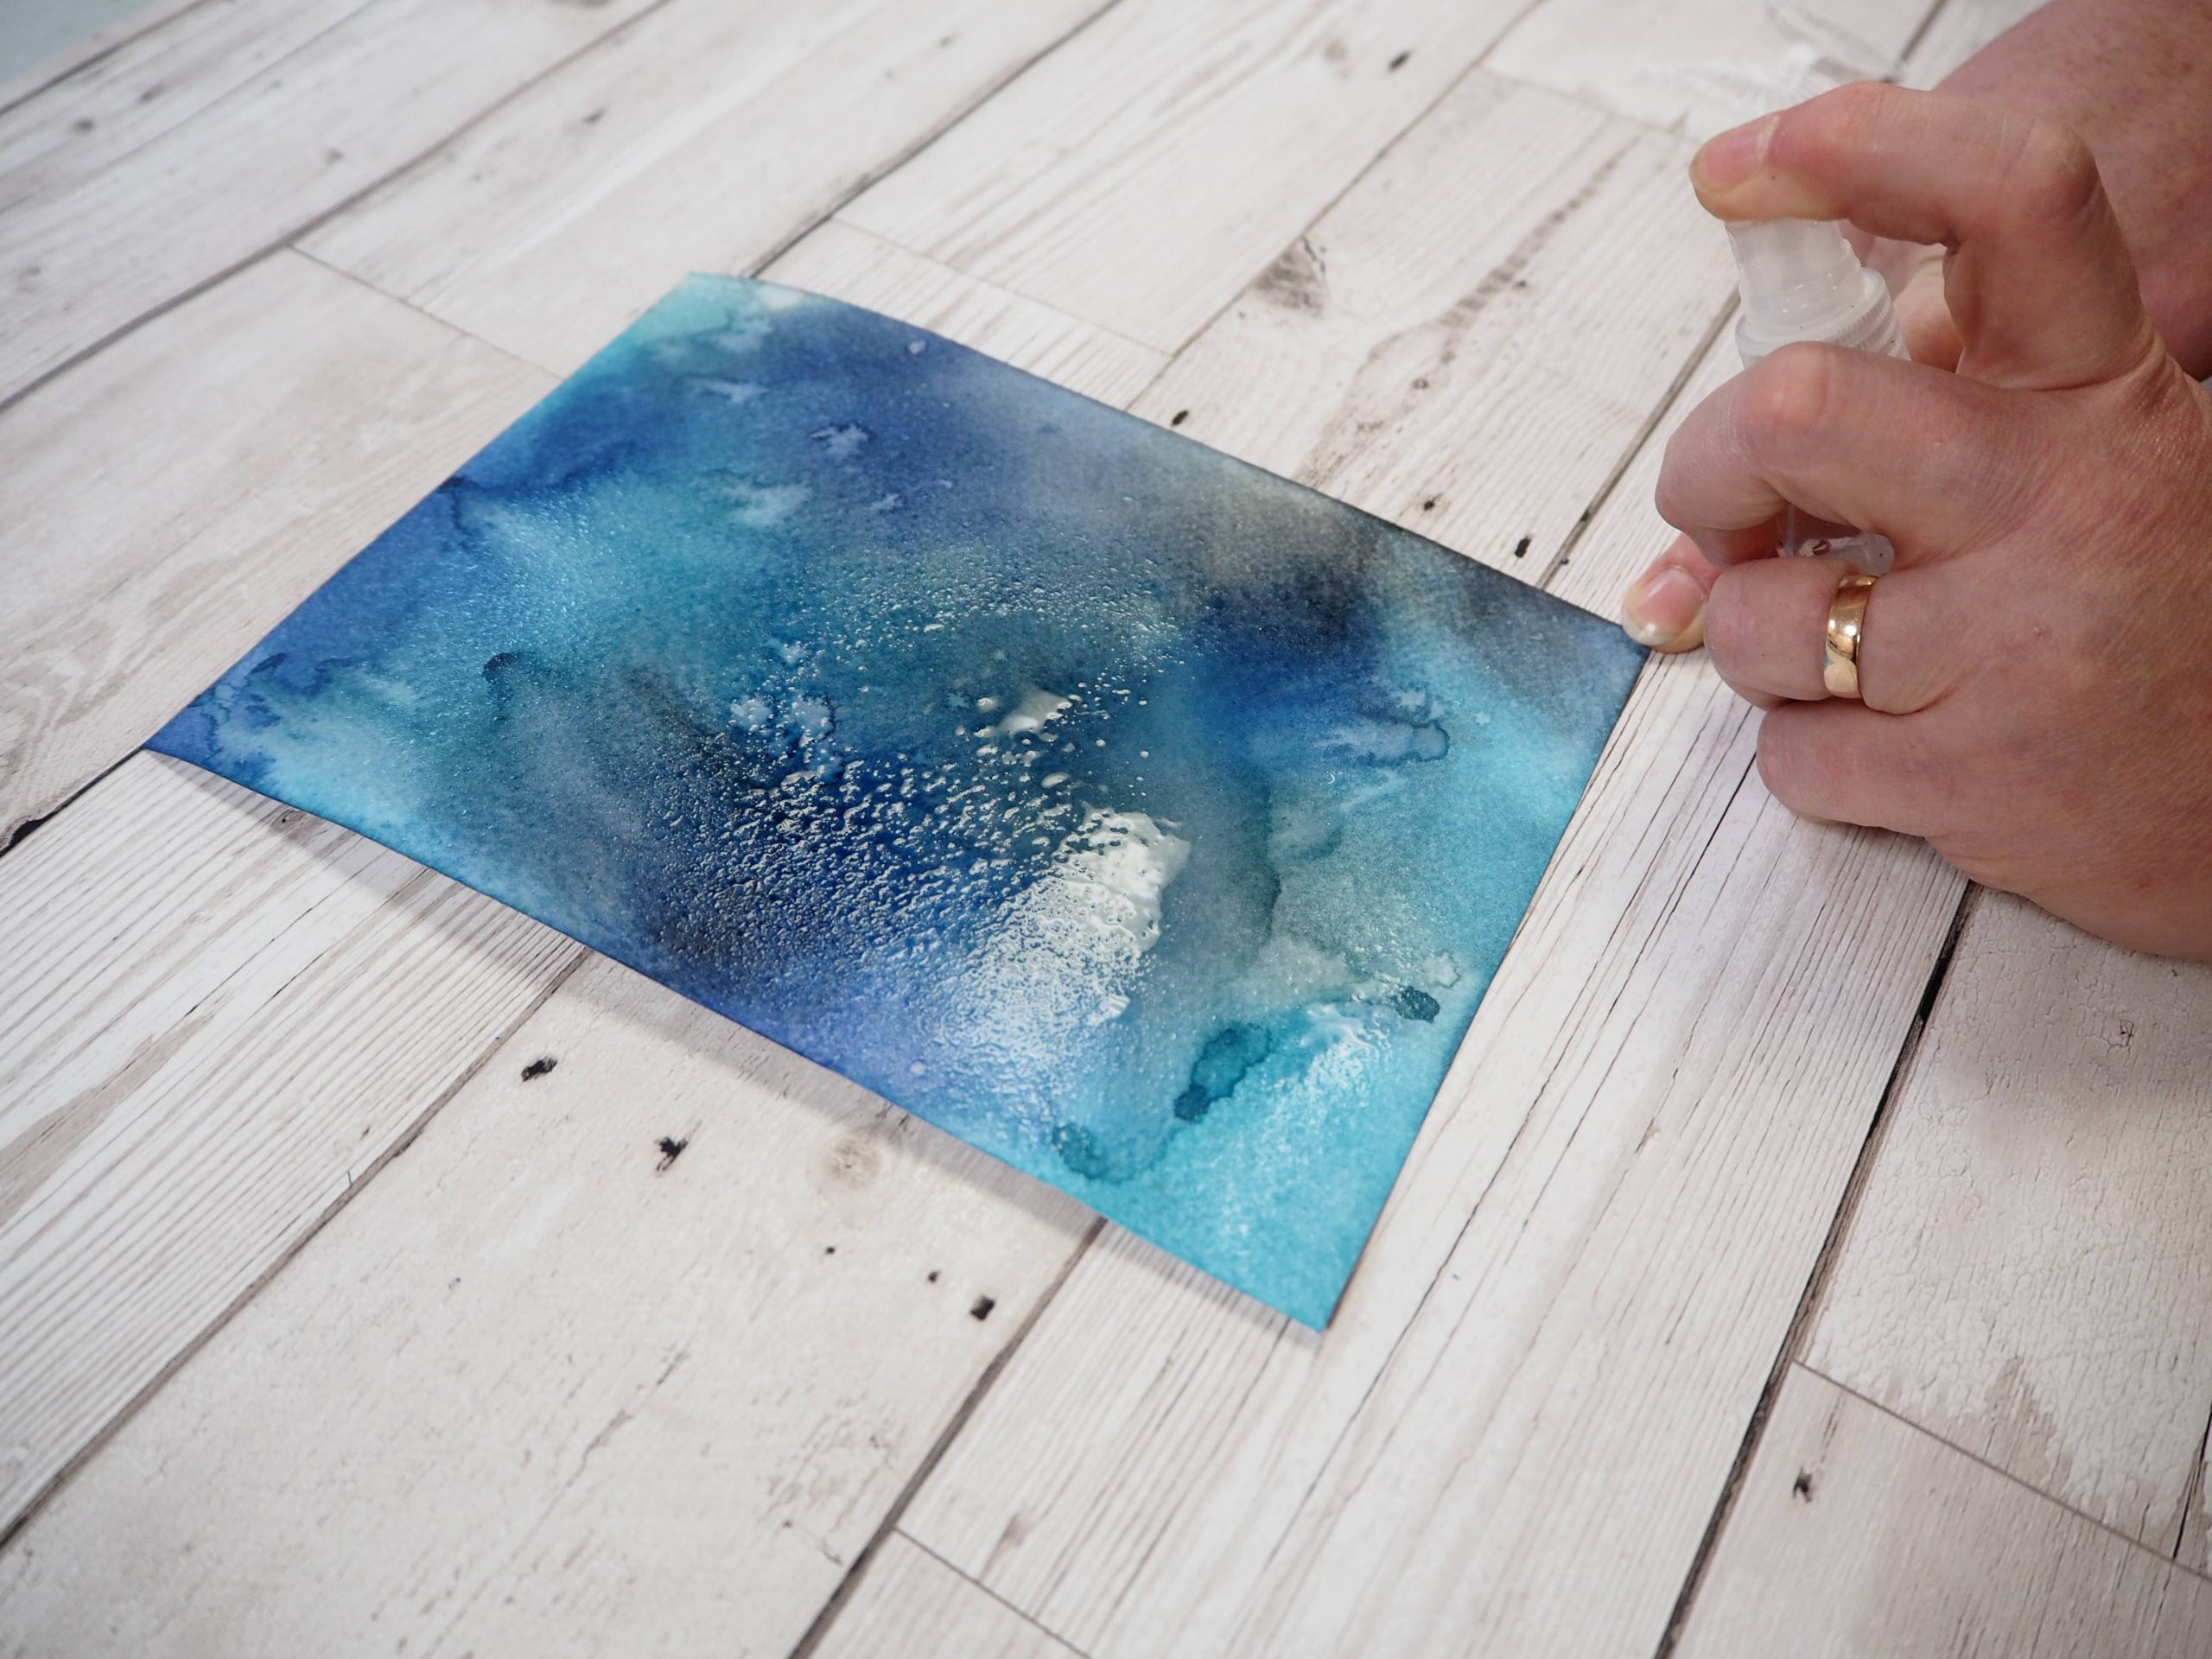
Spritz with water to mix the colours. Dry with a heat tool.
Step 3
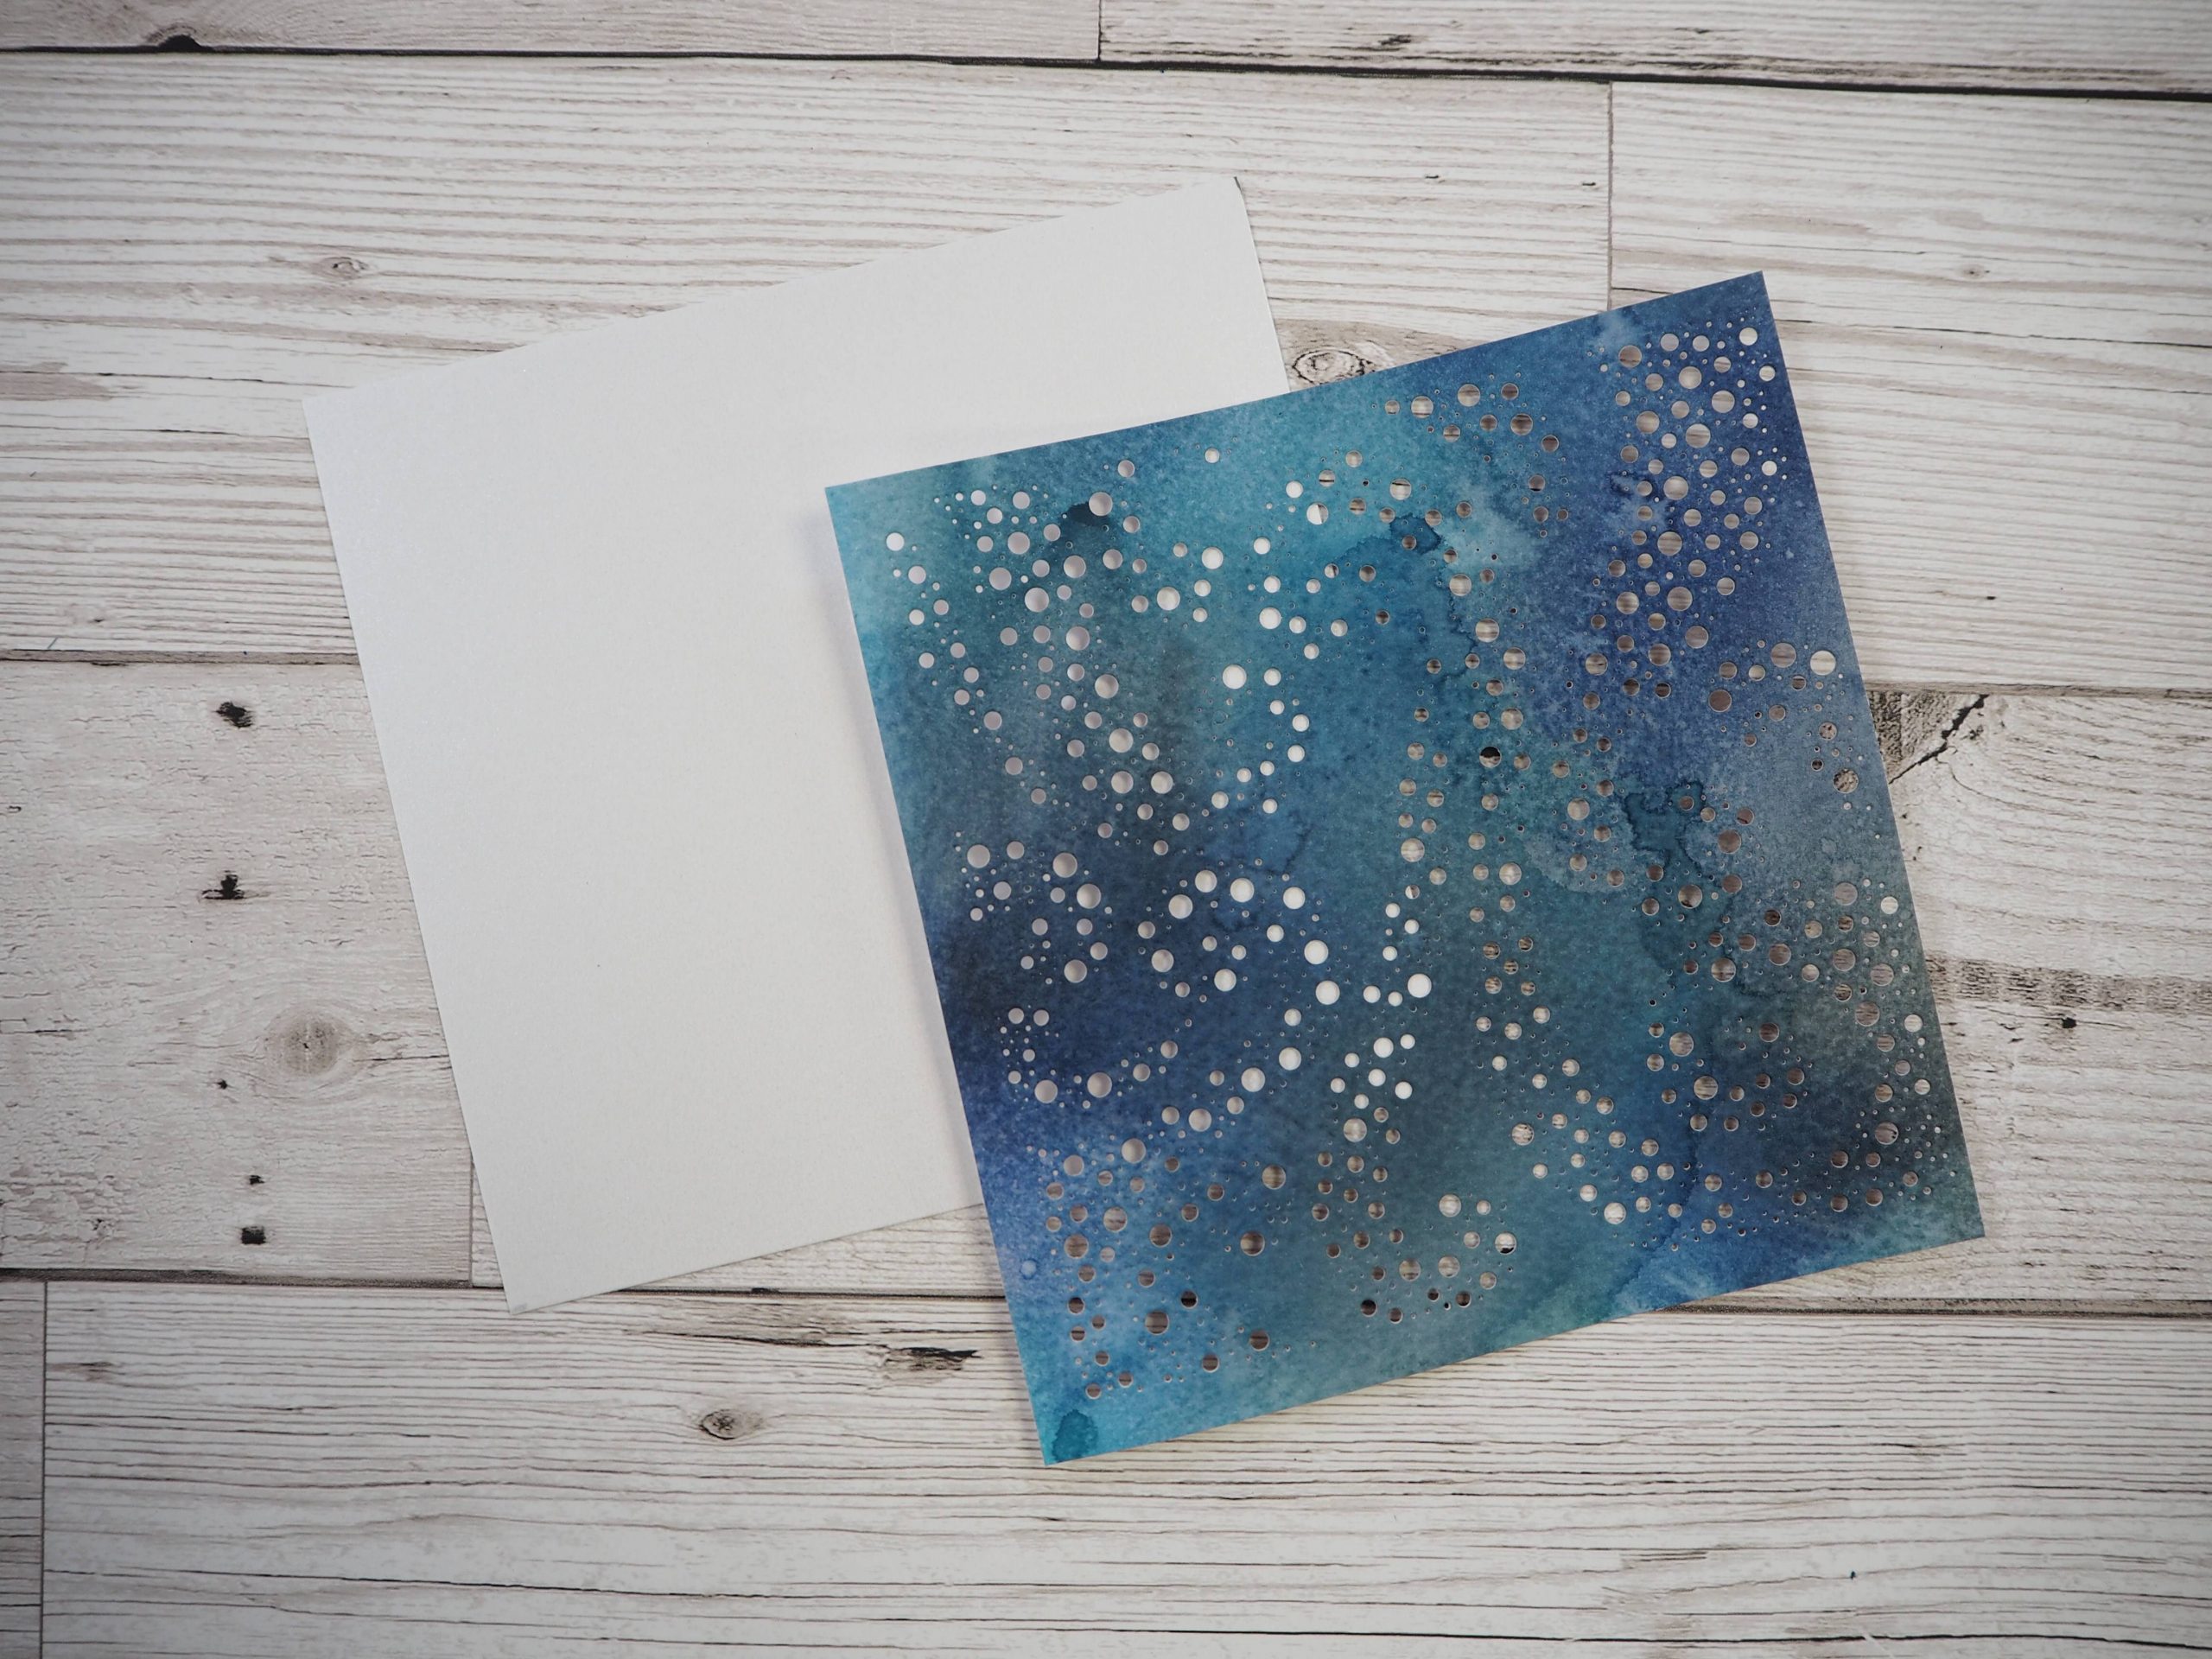
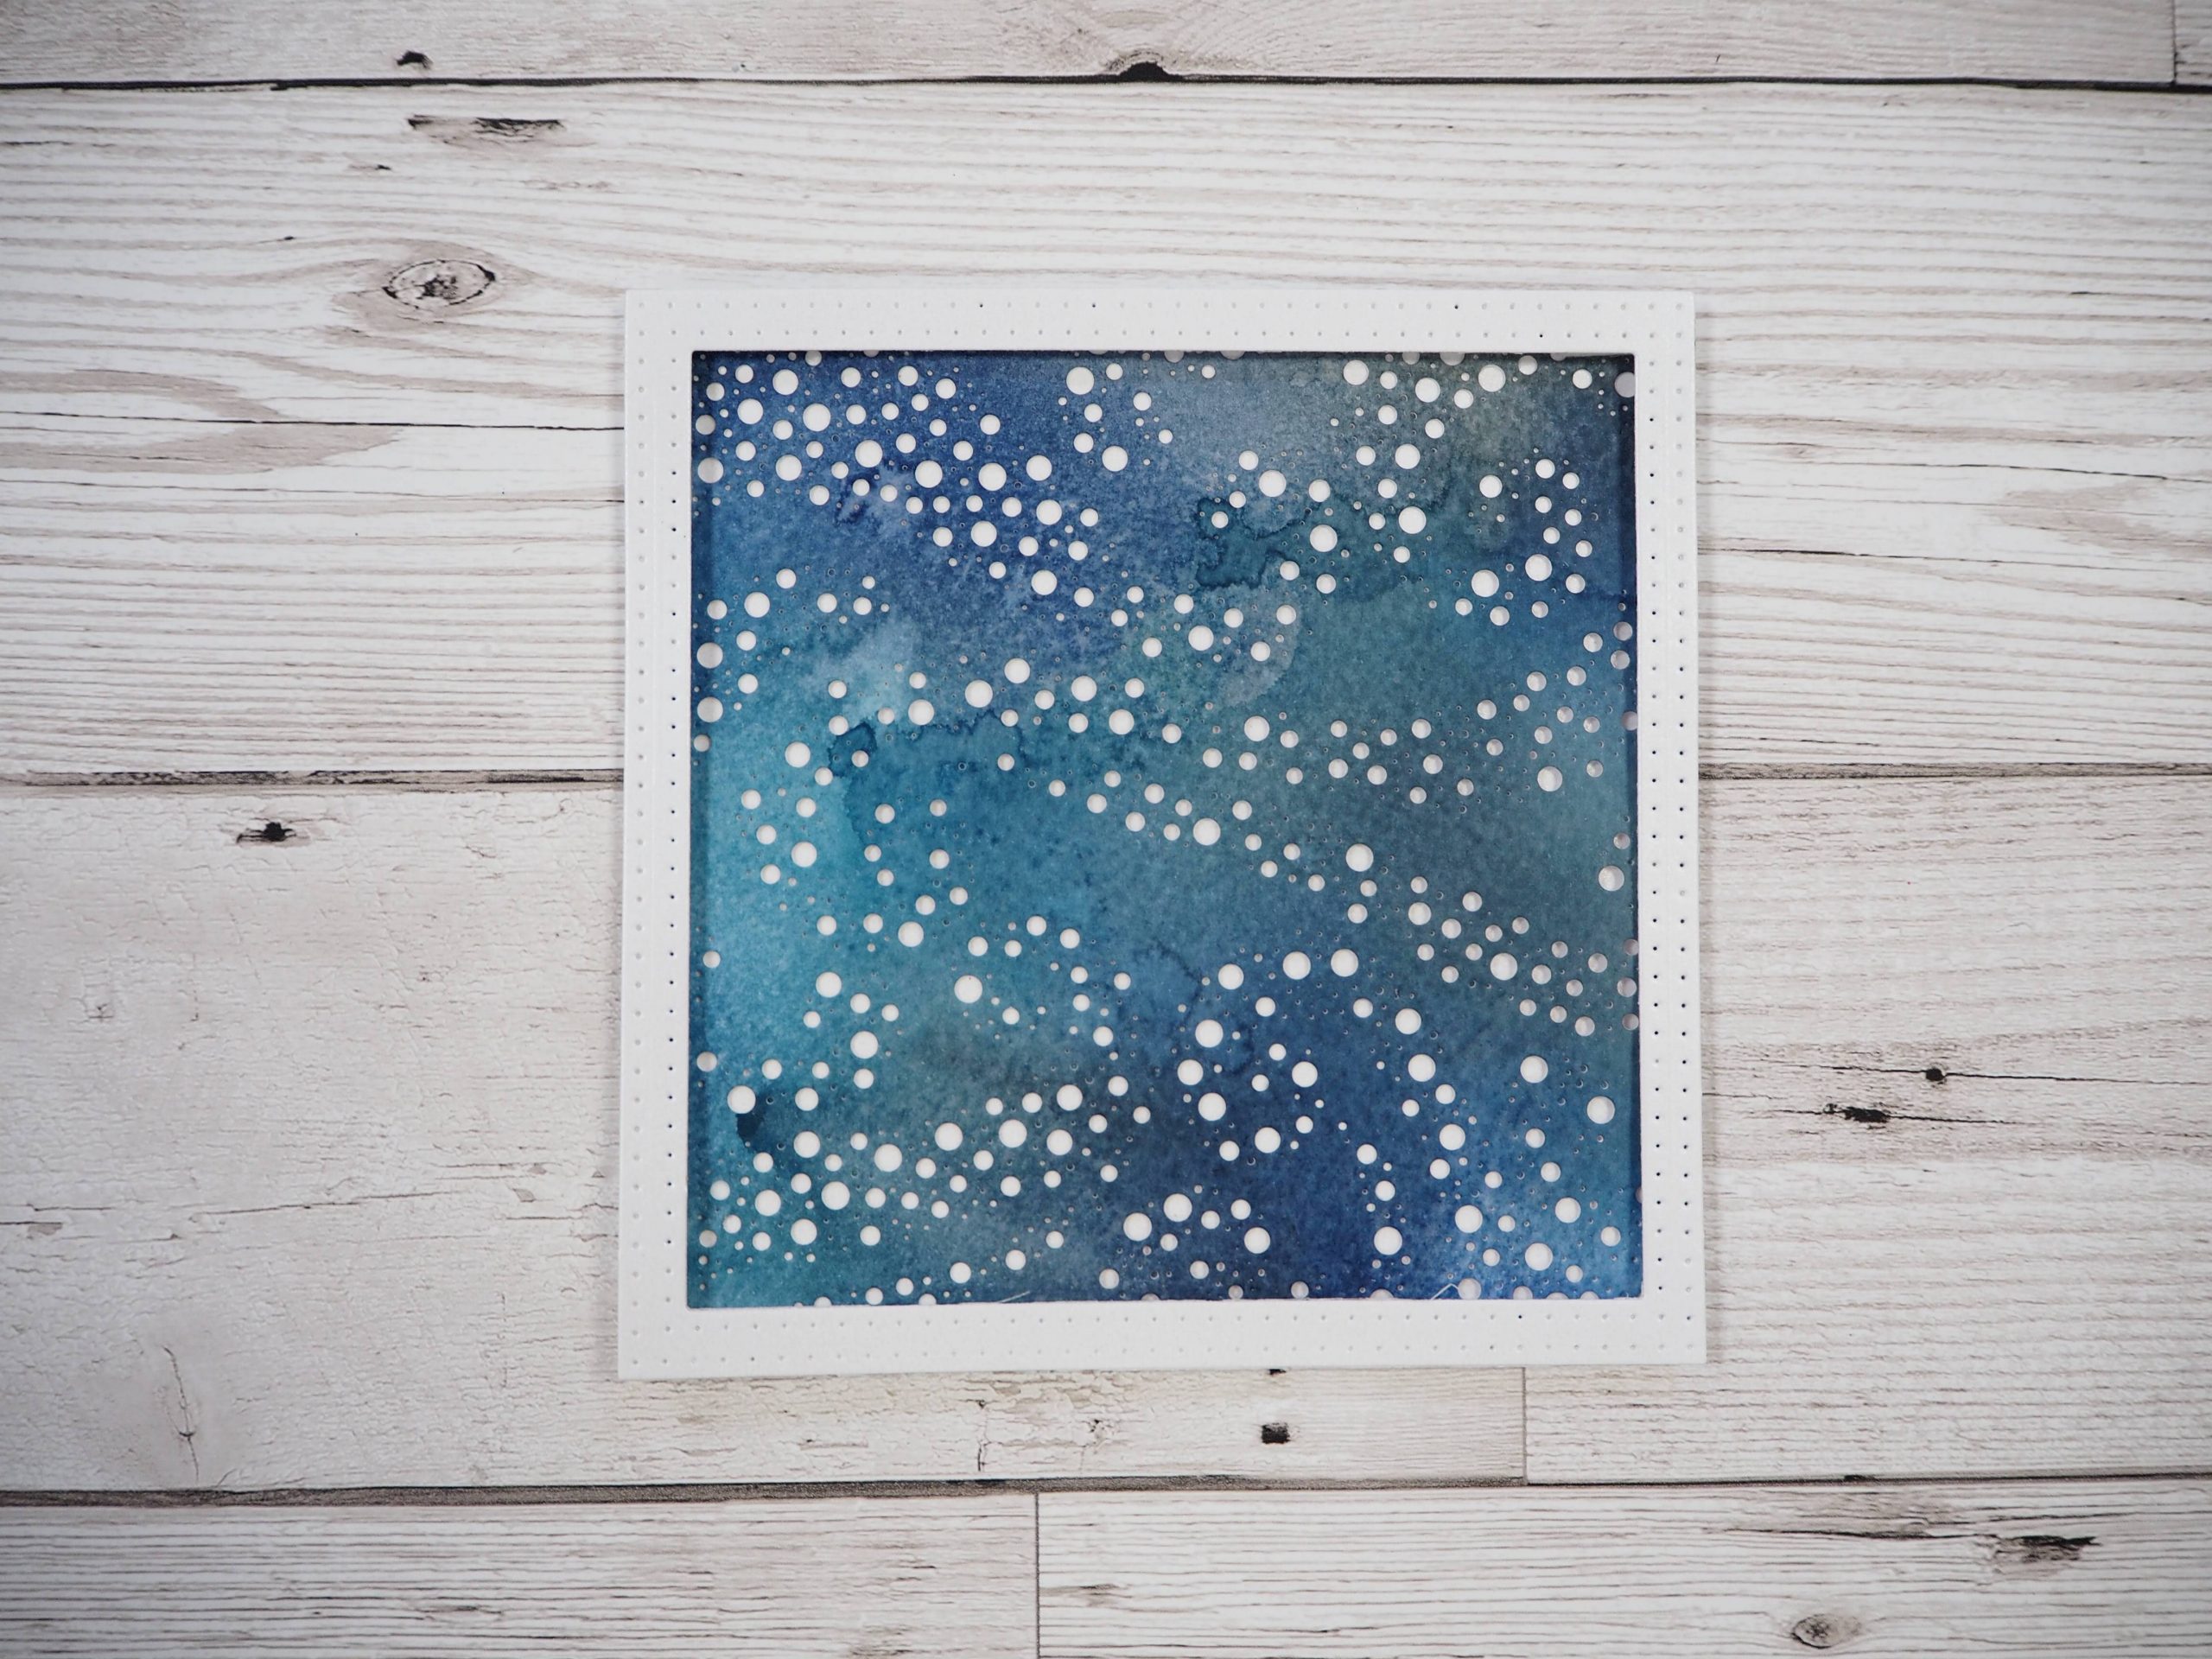
Die cut the Stardust background from the inked watercolour card. Cut icicle card 14 x 14cm and glue to the front of the background piece.
Step 4
Attach the layered piece to the card front. Cut out a frame to fit 14.5cm from Icicle card using the Noble Dies double pierce square. Attach to the card front using foam pads.
A
Step 5
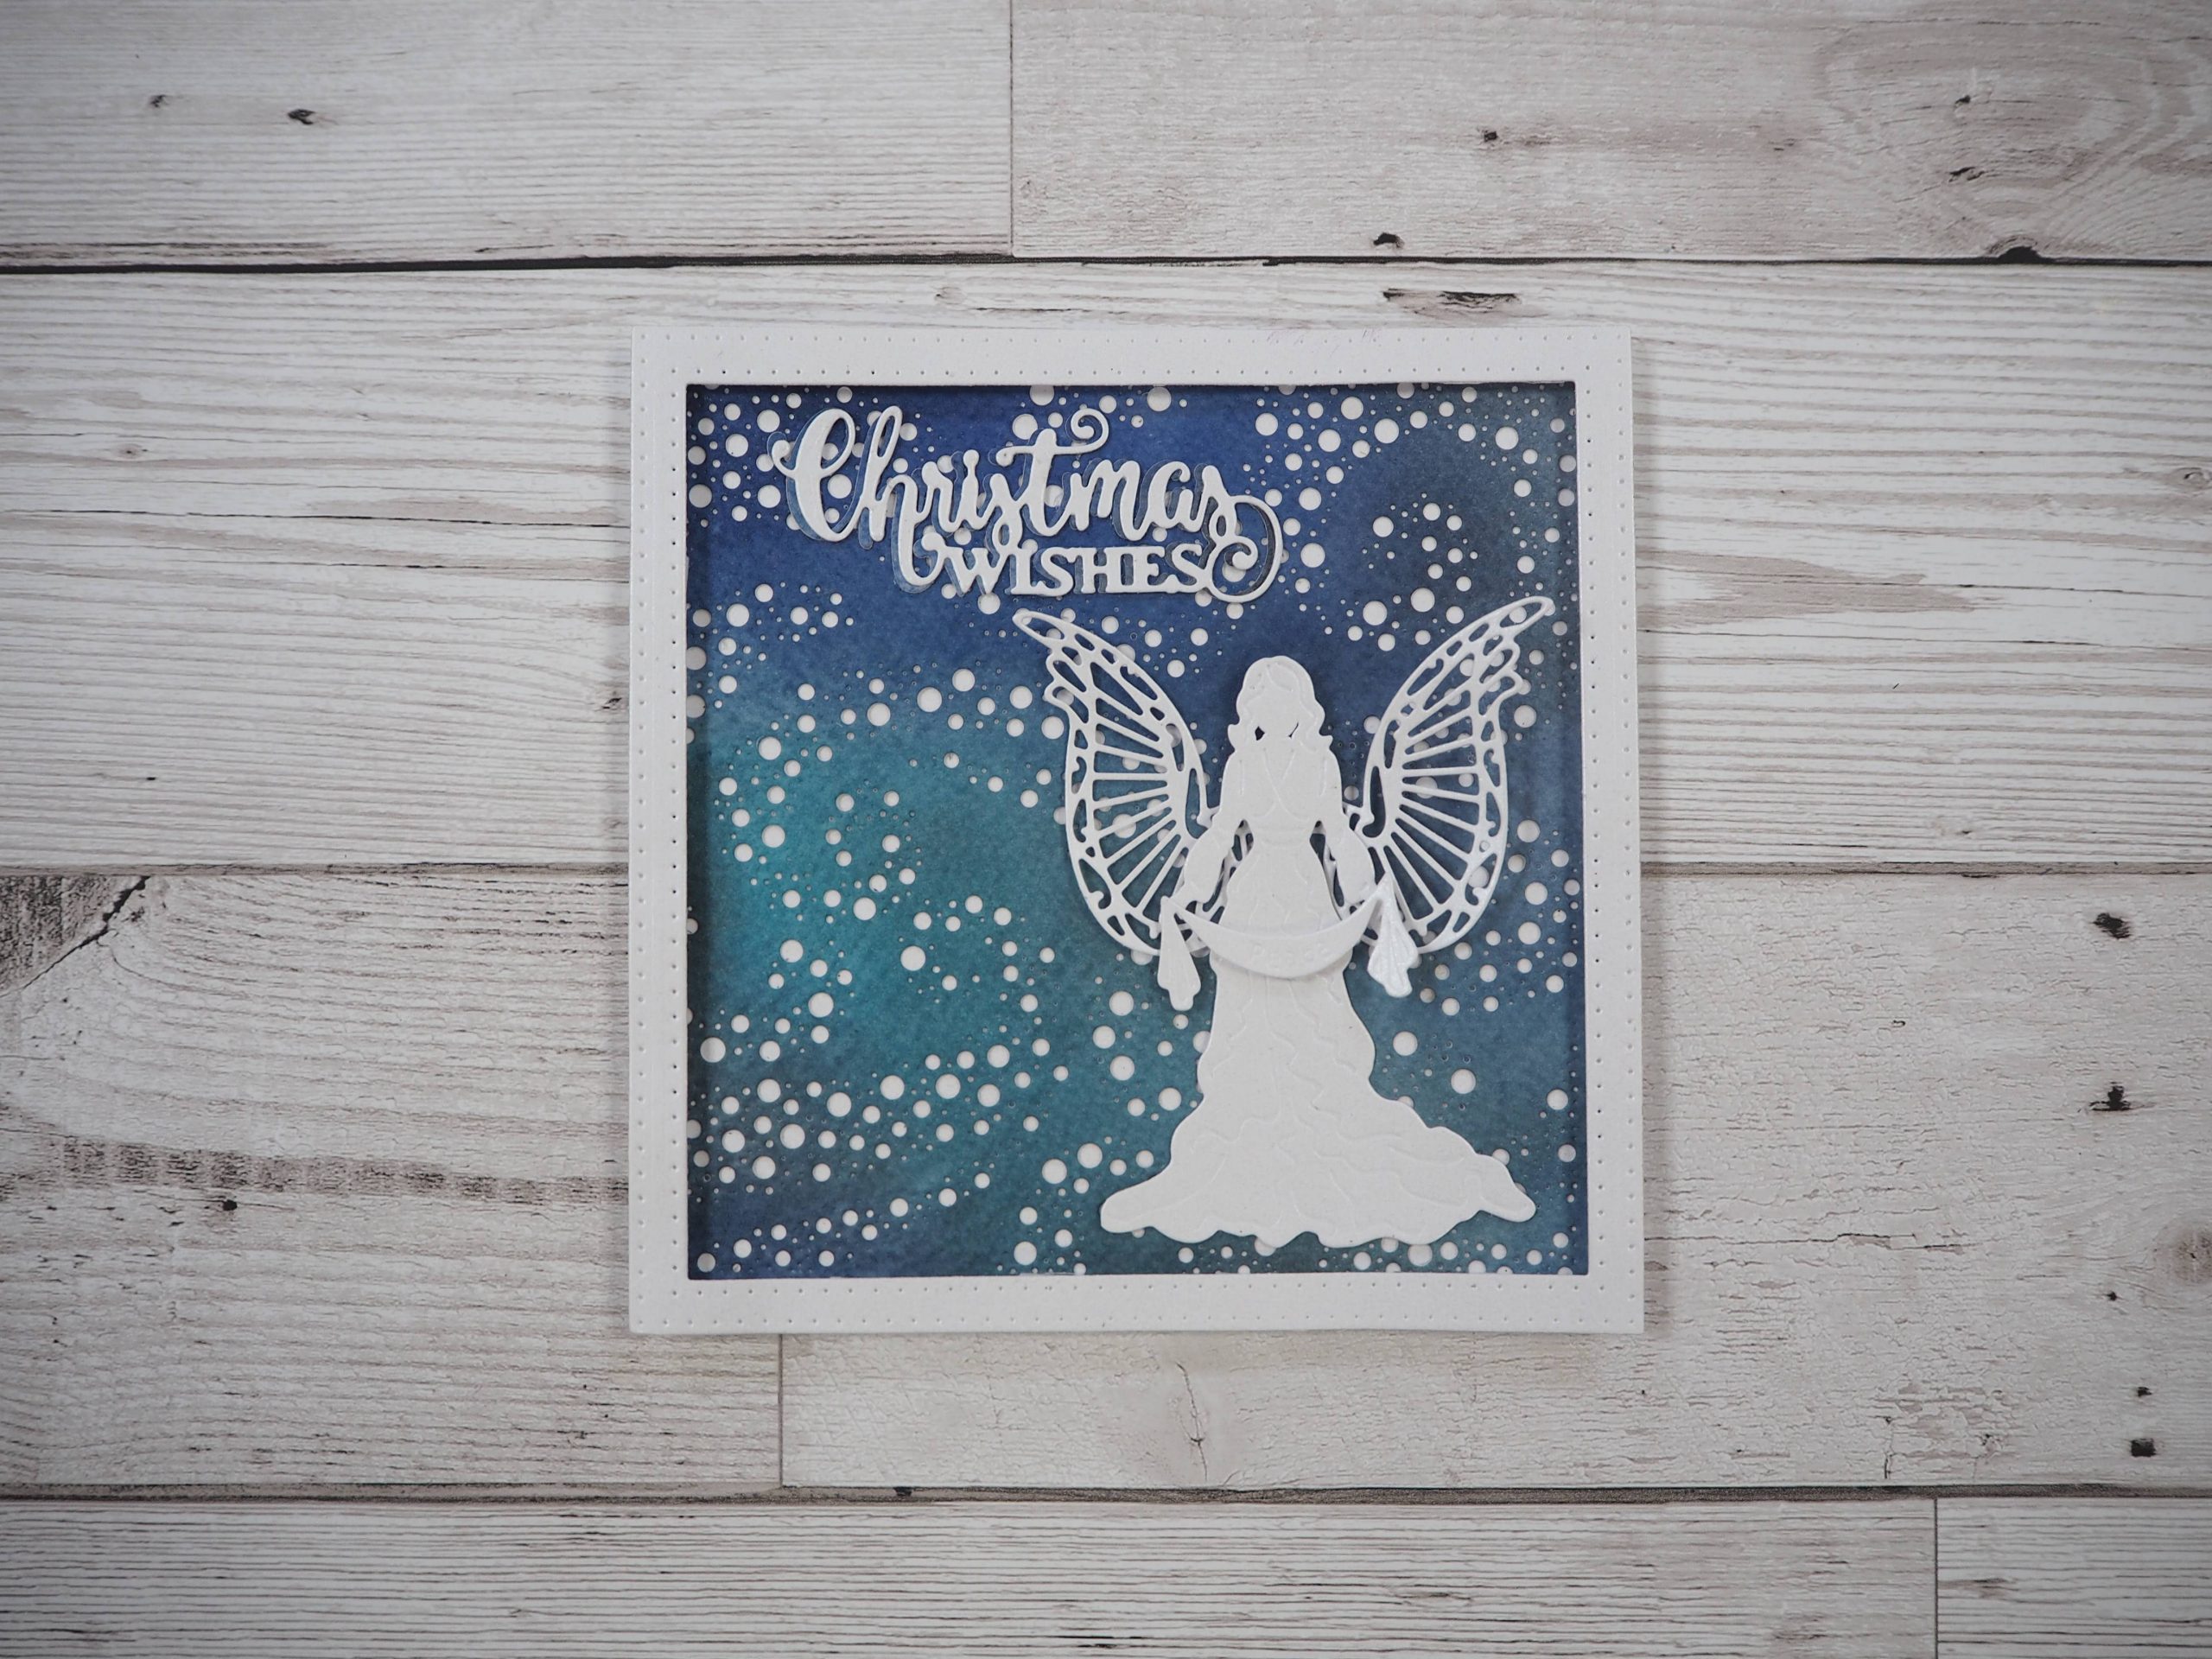
Die cut the angel and wings and peace sign out of icicle card. Attach to the angel using foam pads. Glue the Angel to the right side of the card. Cut Christmas Wishes sentiment from icicle card and some of the offcut inked card. Glue the two together slightly offset to give a shadow.
